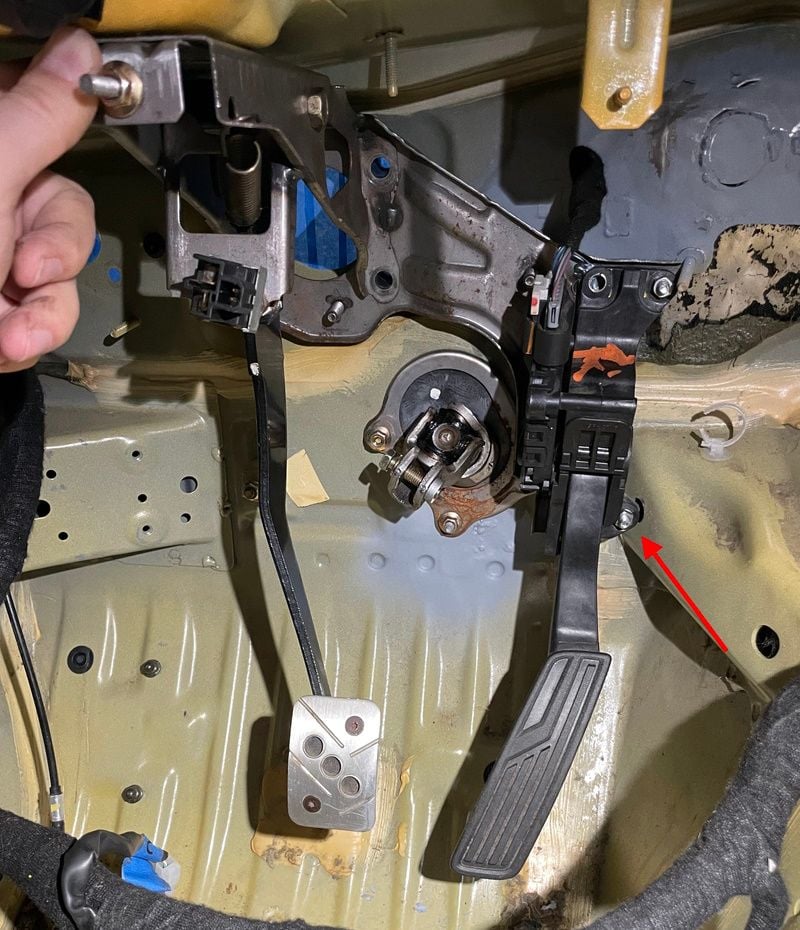
Mounted the drive by wire gas pedal over the past few weeks, I took a slightly different approach than others since I’ll be reinstalling the carpet. Take it easy on my fab skills, this is my first metal fab project in probably 15 years 🙂 . I started with a reference photo to compare the completed product to:
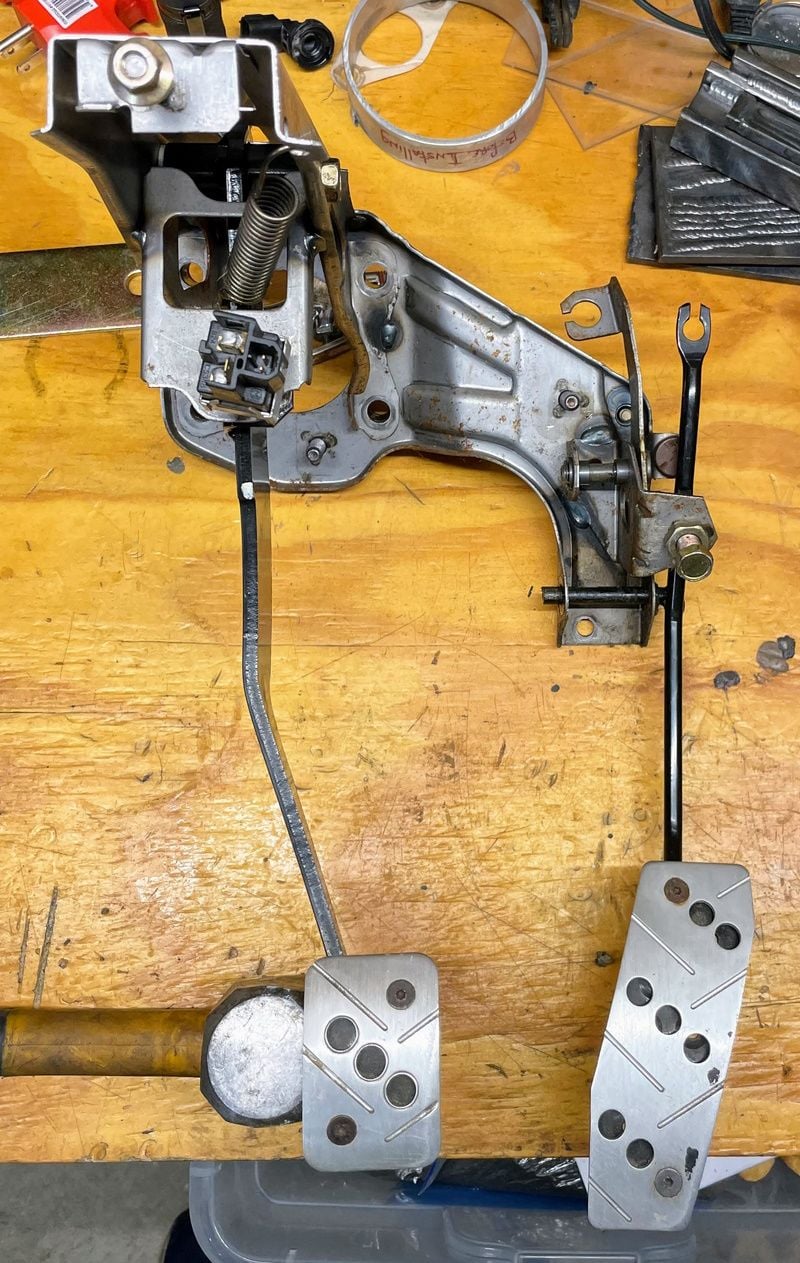
Stock throttle bracketry was trimmed off – in hindsight I would have left the vertical part on the right side intact, it’ll become more obvious why later.

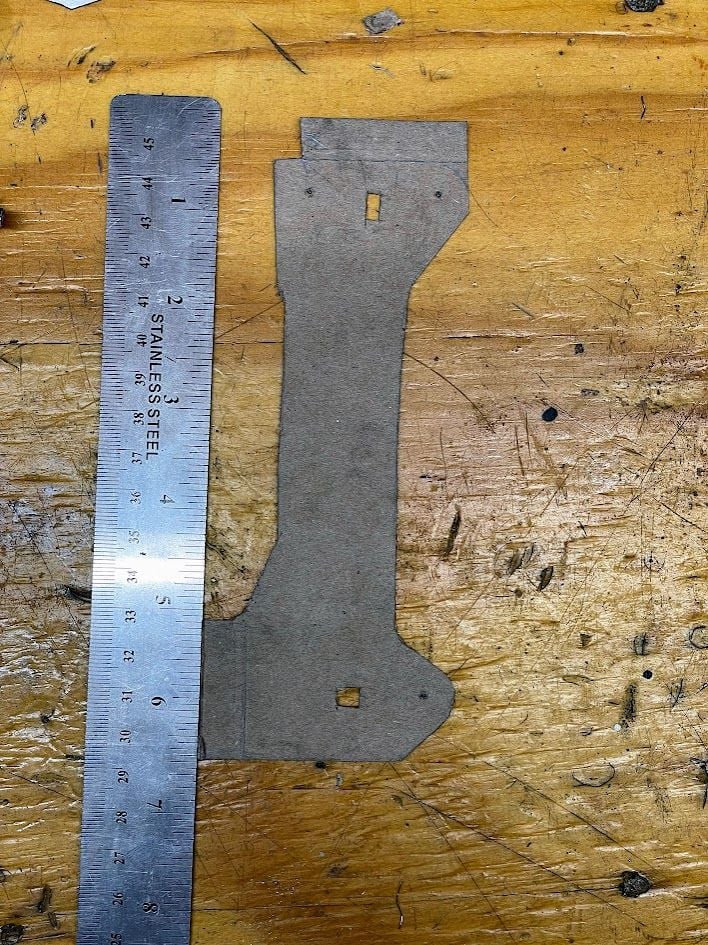
I traced the throttle outline and mounting points onto some paperboard, then transferred the pattern to 0.060″ mild steel. Using my newly-acquired I-beam I bent stiffening tabs into the bracket. These ended up working out well, the top tab lined up with the factory pedal assembly and made for a much stiffer attachment. The I-beam was cheap and made this job so much easier- if nothing else it was a heavy thing to clamp the workpiece to. Highly recommend.
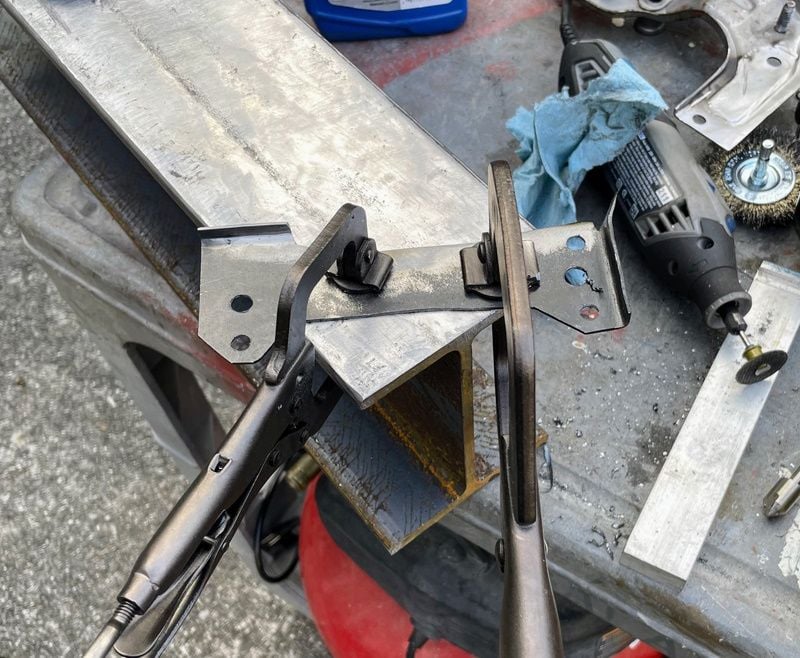
Bracket was tacked onto the assembly at the top and test fitted. Based on other build threads I was expecting this to be a formality, but I found two issue: the bottom mounting tab was touching the transmission tunnel and the pedal was too low – enough so that with the carpet installed I might not have been able to reach full throttle.
There wasn’t a ton of room to move it left or right, so the only option was to space the bottom up. 10mm felt about right and left sufficient clearance on both fronts
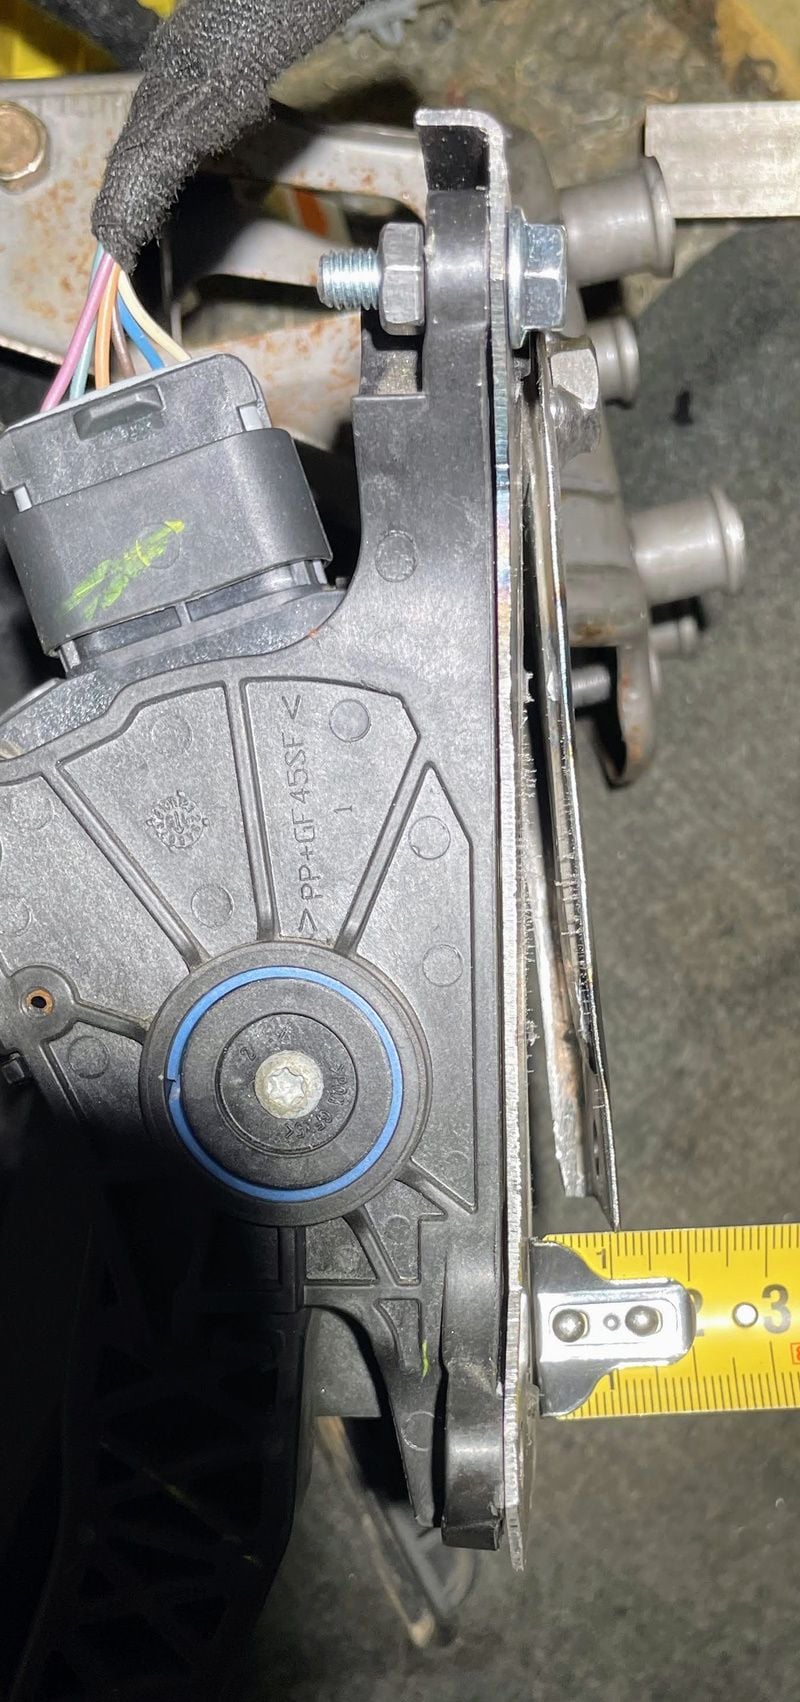
I wanted to make sure the throttle was mounted securely – I wouldn’t be surprised if the pedal saw significant force from the nut behind the wheel. The slight angle made mounting more challenging, I was expecting to just lap welding the bracket on. I cut out two stiffening braces and welded them in , one along the bottom of the pedal and one running vertically. Since stiffness increases with the cube of the height this worked out to be a nice stiff mount.

I opted to tack some bolts in at the top to act as mounting studs. I could have used studs for all 3 mounting locations but I think they’re kind of ugly, so I used a nut for the bottom mount (there was no space for the top 2 locations). I gave it a quick coat of paint and called it a day second weekend


And here’s a reference photo in case someone wants to get the bracket laser cut.